 Muy Bueno: Fiestas
 Bird Nests and Speckled Robin’s Eggs

I love springtime! Living in Colorado, our winters can seem long, especially when the sun starts to go down right after 5pm. Now with daylight savings time the sun is out longer and it is a refreshing reminder that spring is right around the corner.
So why not celebrate the arrival of spring and bring the outside into your home? These adorable little DIY bird nests and speckled robin’s eggs are our tribute to spring.
They make unique placeholders for an Easter brunch or spring themed tablescape for a farmhouse feel.

This craft is perfect to make with kids! No need to be perfect – just have fun.
Have you ever seen a real robin’s egg? The coloring is amazing! Below are our steps, so that you too can recreate the beautiful, speckled, turquoise.
I learned that the robin is symbolic of the sun, new beginnings, joy, hope, and clarity.
As you mold these nests and paint these little eggs you’ll feel a parental connection.
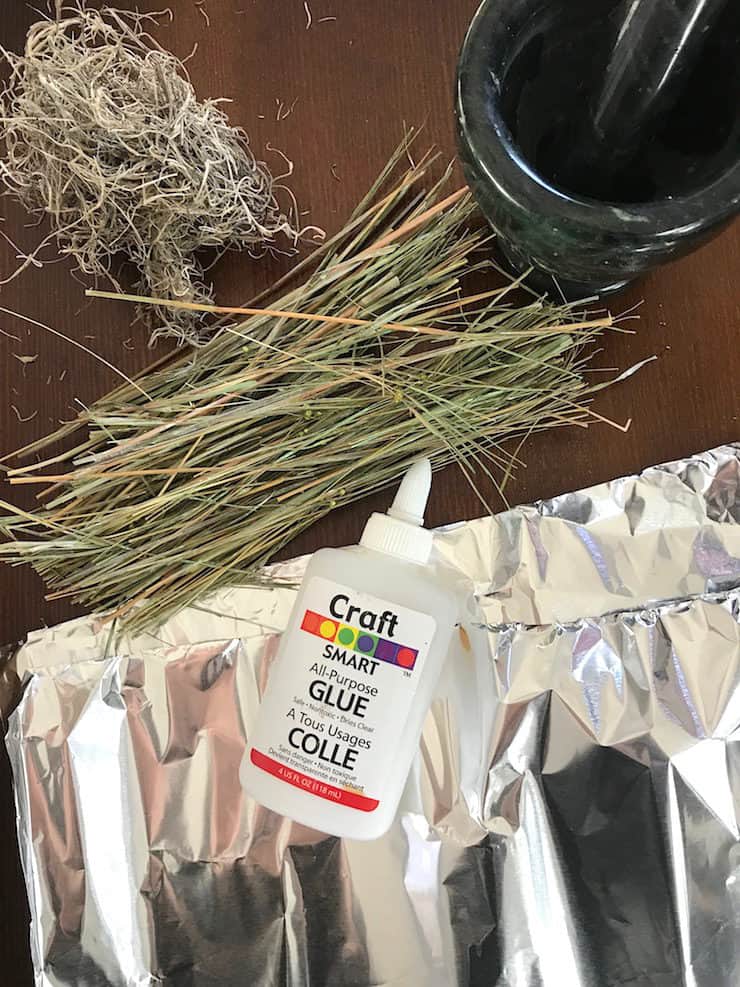
Supplies:
- Mortar and pestle, bowl, muffin tin
- Modeling clay
- Blue chalk paint (Refreshing)
- Brown chalk paint (Rustic)
- Paint brush
- Dried dune grass
- Dried babies breath (optional)
- Glue, clear drying
- Moss
It turns out there is another great use for a mortar and pestle! We lined ours with foil to form the nests.
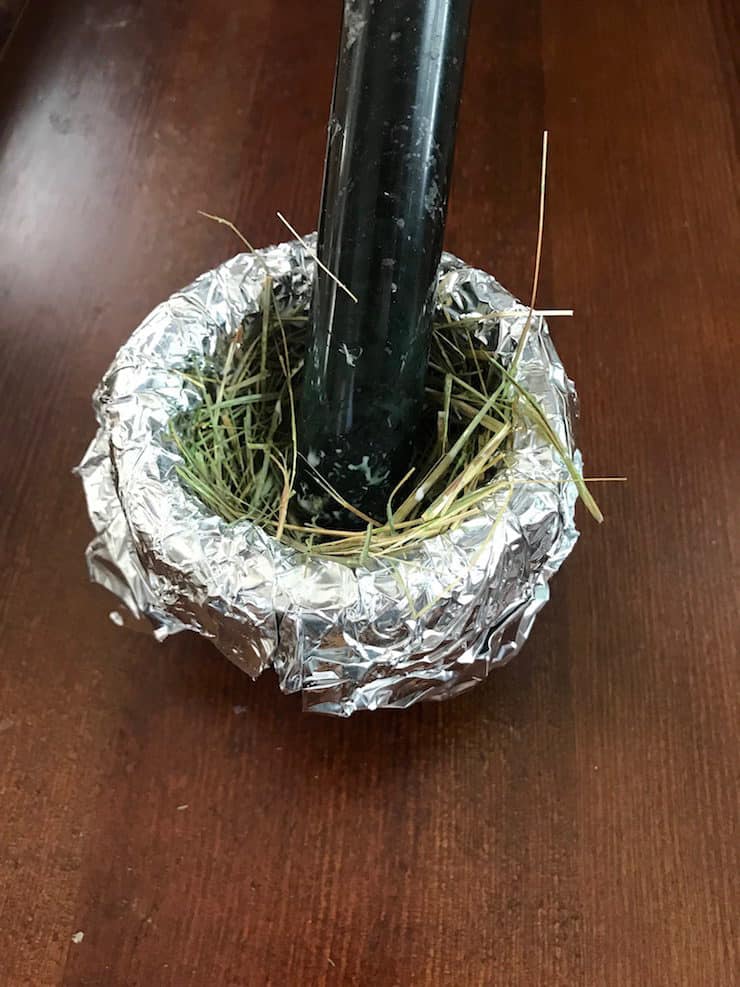
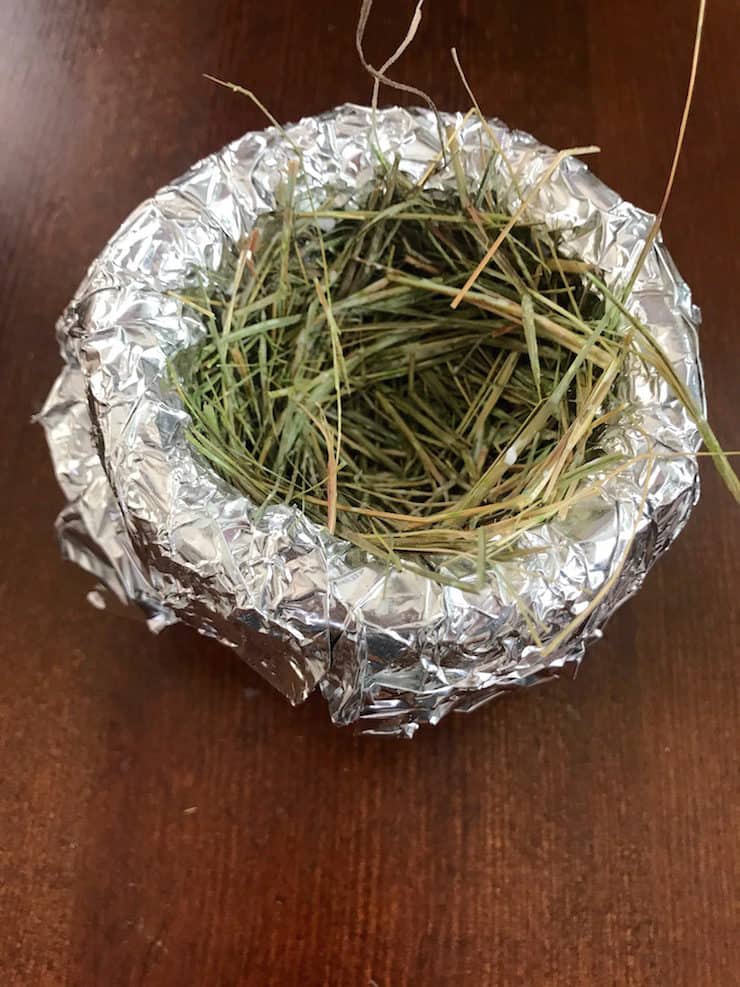
Line a mortar, or similar vessel with foil. Take a handful of dried grass and bend them around the foil lining. If using, add a few dried flowers.
To firm up the birds nest, continue to layer dried dune grass and glue. The glue dries clear, so don’t be afraid to use a lot. The more glue you use, the sturdier your nest will be.
Using the modeling clay, form it into small eggs to match your nest size. Let the clay dry over night.
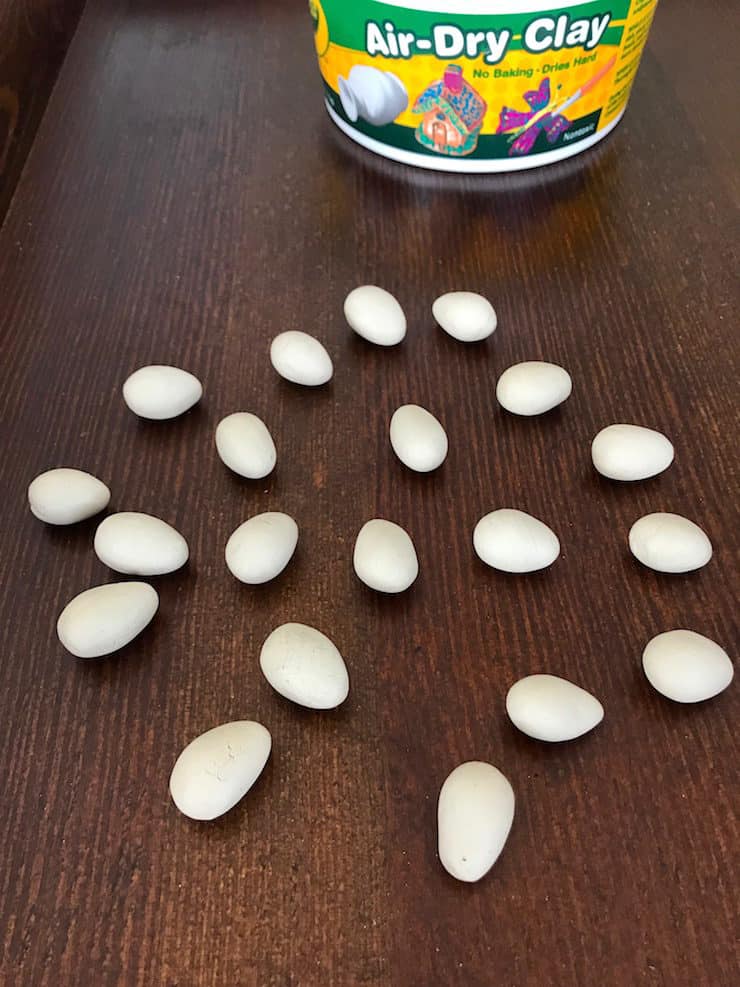
Use the blue paint to cover the eggs. After the blue has dried, apply a dab of brown to the ends of your paintbrush. Use both hands to tap the brush, splashing on the speckles. This can get messy so you may want to do this outside.
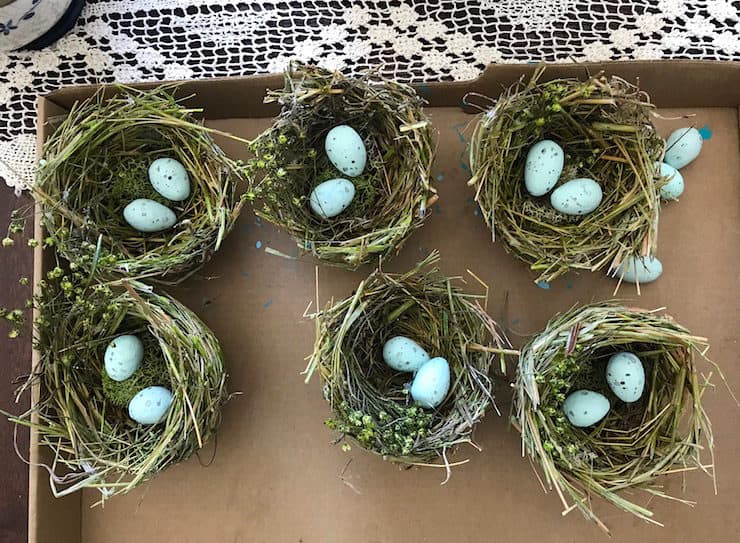
Place moss on the bed of the nest and arrange your robin’s eggs.

Photography: Jenna Sparks & Thrifty Rehab / DIY: Thrifty Rehab


One Comment on “Bird Nests and Speckled Robin’s Eggs”
These are so cute, look like real nests. Love them.