 Muy Bueno: Fiestas
 Mexican “Tin” Picture Frames

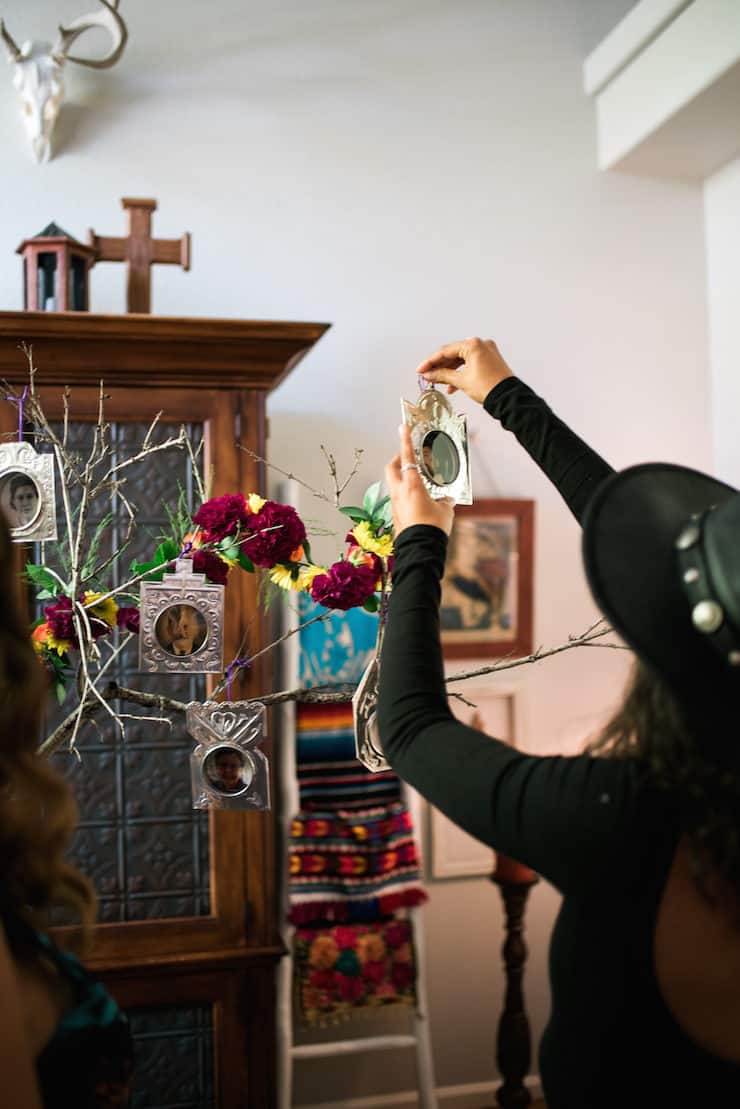
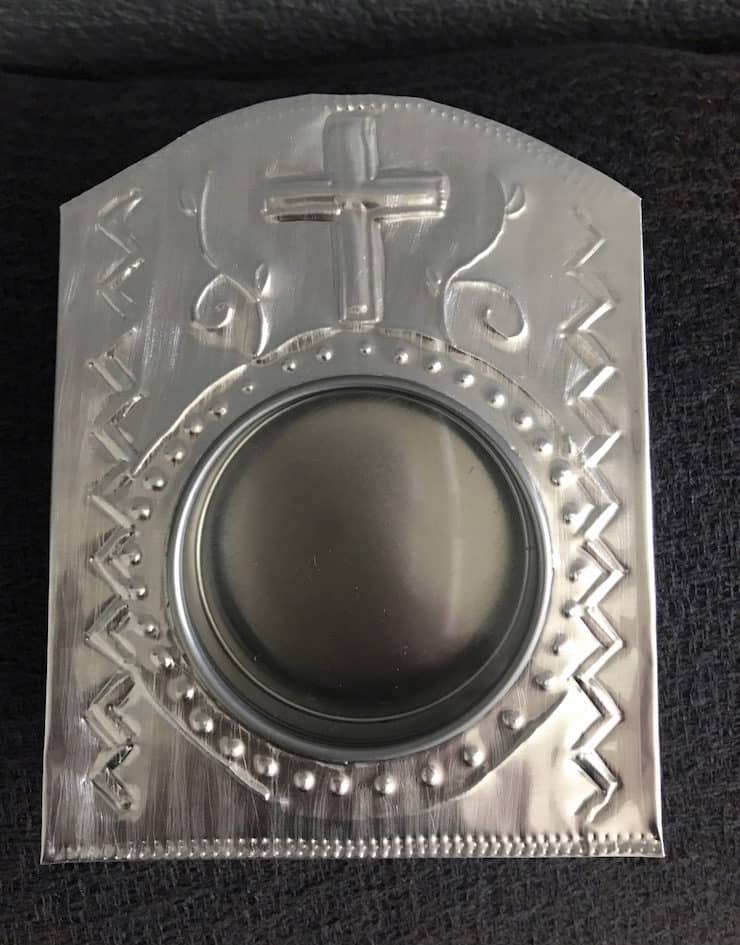
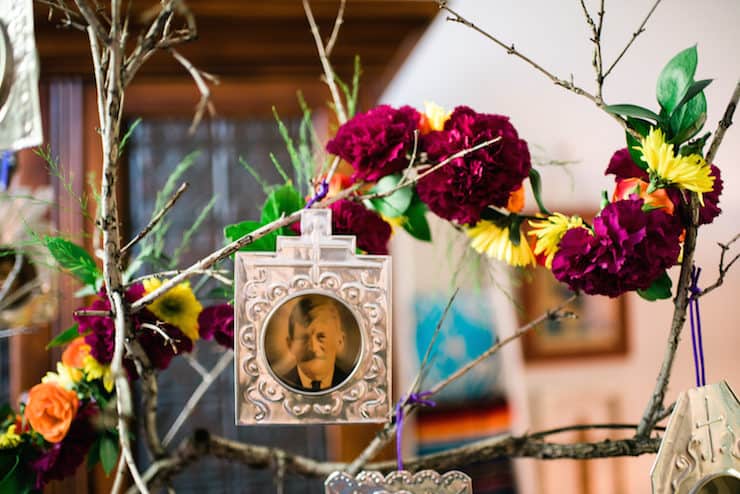
As you likely know, Dia de los Muertos is a very important Mexican holiday to me; hence, I wanted a fun and personalized DIY honoring our departed. These tin picture frames make a great gift, the perfect accent for a home altar, or ornament for a Christmas tree. The beautiful rustic look and handwork detail on these frames will compliment any southwest, Spanish colonial, or rustic theme. They look just like the handmade ones by artisans in Mexico.
I recently hosted a dinner and asked each guest to email me a digital picture of a loved one that has passed away. We incorporated each image in these lovely, handmade, aluminum embossed picture frames. My guests were delighted with their personalized gift. Did I mention that the picture is easily interchangeable?

This craft may look intimidating or costly to make, but rest assured, it’s not! If you don’t have aluminum embossing tools, don’t worry, a pencil will suffice. If you do not want to purchase crafting aluminum sheets, you can recycle soda or beer cans.
This DIY does not require aluminum sheers; we used regular scissors.
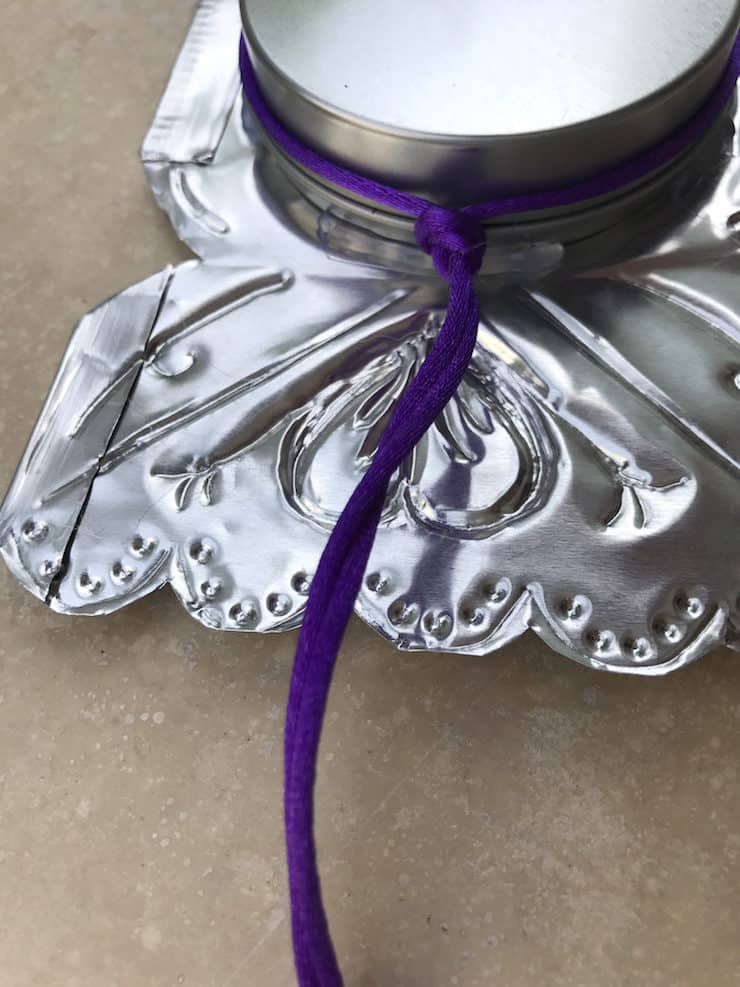
Since we gave this craft as a gift, we opted for these clear top favor tins from Amazon that had excellent reviews, however, comparable tins are available at Ikea and Walgreens.

Before our guests arrived we hung all the picture frames on a tree branch in my living room as décor. After we ate, we all gathered around the tree and shared stories.
To make it easier for you — we have included a downloadable printable stencil for you to use.
Quick disclaimer: If you decide to make this DIY, please use appropriate safety gear, including metal working gloves. Aluminum edges and the X-ACTO knife are sharp, so please take your time and be sure that you do not cut yourself. We also highly recommend watching YouTube videos for pointers. We found Introduction to Metal Embossing Tutorial by Elitia Hart to be the most informative.

Supplies:
- Computer
- Scanner or digital camera
- Printer
- Photo editing software
- Paper for printing photos and template
- Safety goggles
- Metal working gloves
- 36 gauge aluminum roll or recycled pop or beer can
Embossing wheel tool (optional) - Round tins with clear lids
- Ruler
- Pencil
- Scissors
- X-ACTO knife
- Hot glue and gun
- Glue stick
- Smooth non-corrugated cardboard surface to work on
- Ribbon or string for hanging
Before you begin, identify the frontside and backside of the aluminum. The front will have a more glossy, glazed finish. It’s important to identify the front vs. the back because you will be doing the main embossing on the backside.
Next, tape the printed template to your aluminum and trace the cuts. (The dotted lines are where you will fold the edges along the edge of your ruler.)
Your round tins may not be exactly the same size as the circle drawn in the template, so be sure to trace the lid of your tin before cutting the hole. With the metal working gloves on, use the scissors to cut the straight lines, then the X-ACTO knife to cut the center circle.

Photography: Jenna Sparks & Thrifty Rehab / Styling, Décor & DIY: Thrifty Rehab / Wardrobe Styling: Fashion Forward / Hair & Makeup: 5280 Stylist MUA


One Comment on “Mexican “Tin” Picture Frames”
They are so pretty. Maybe u can make me a couple for Christmas. I love the rustic look.