 Muy Bueno: Fiestas
 Aluminum Embossed Napkin Rings
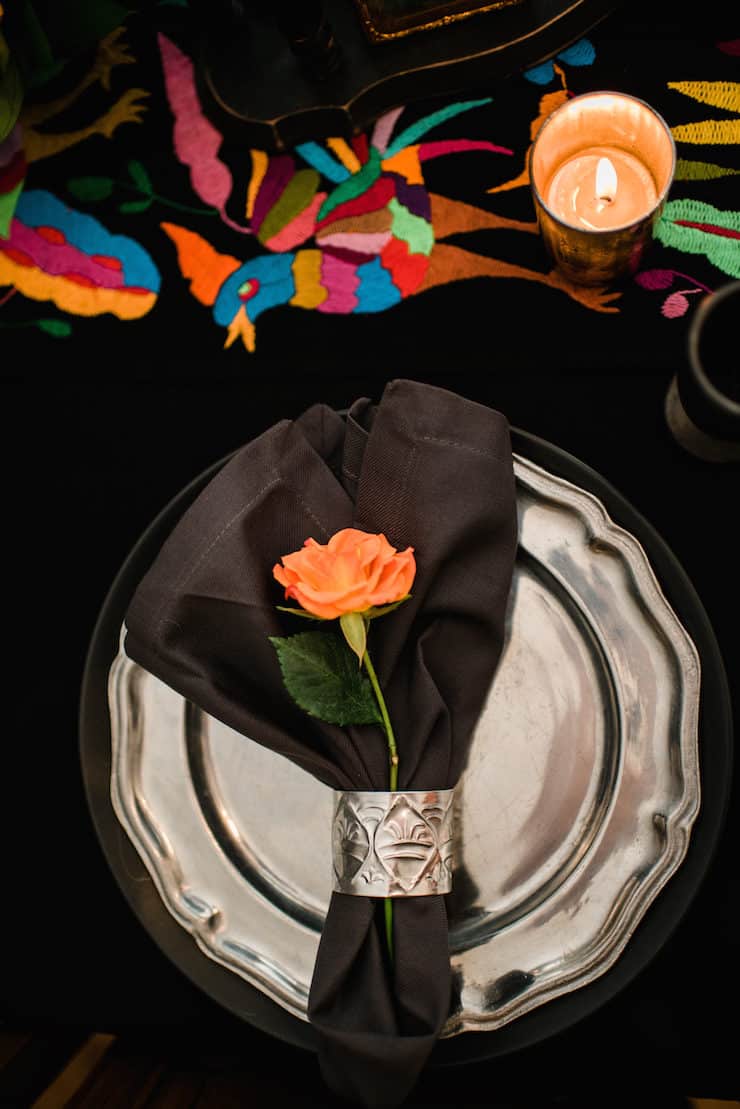
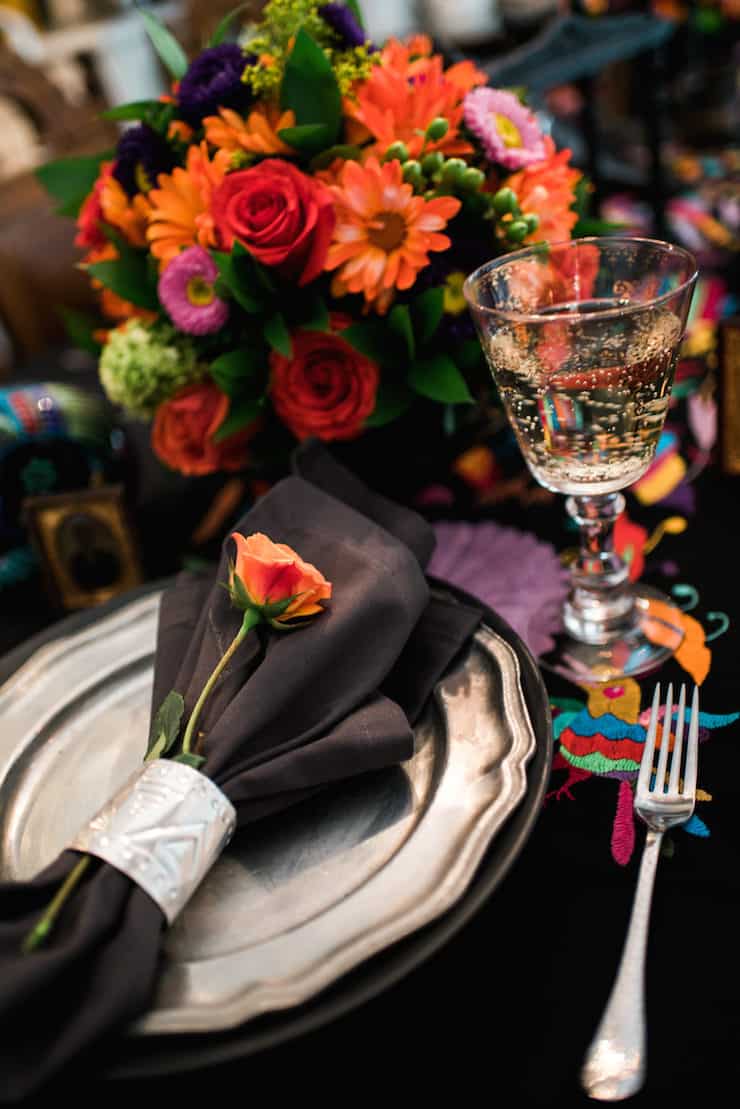
Take your dinner party from drab to fab with these elegant napkin rings. Napkin rings are a fun and inexpensive way to spice up your dinner table.
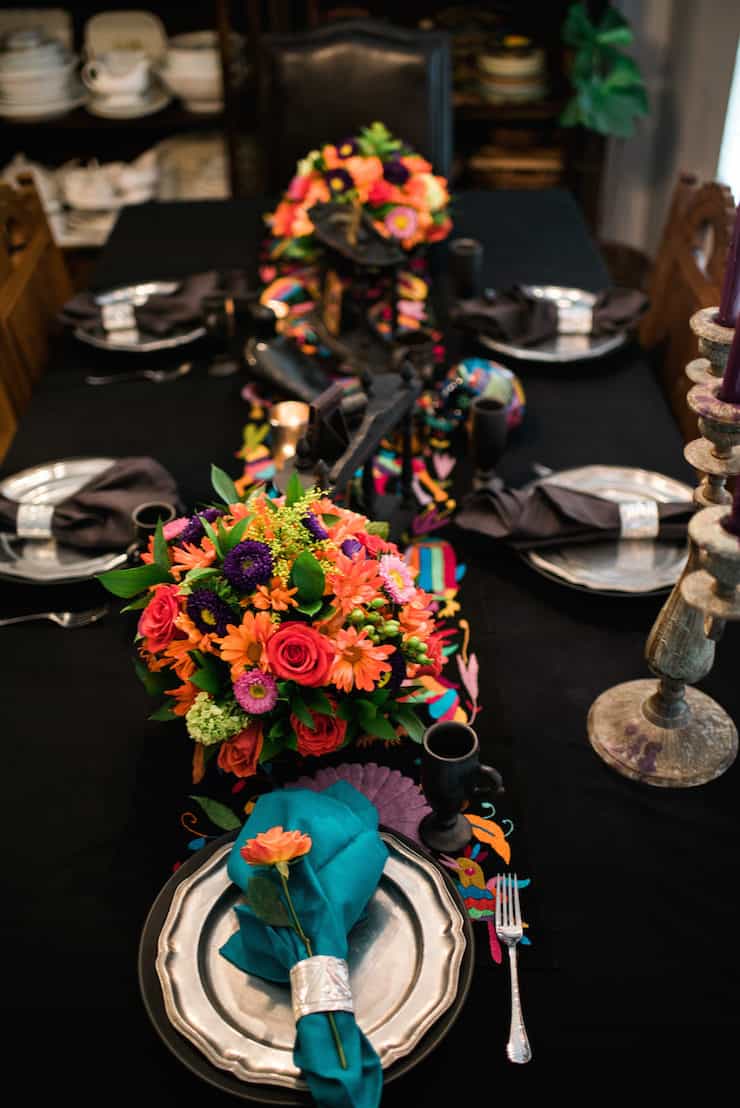
These simple, yet elegant napkin rings were made for a Dia de los Muertos dinner that I hosted. The tablescape incorporated a lot of black with pops of metal and we thought silver embossed napkin rings would be the perfect accessories.
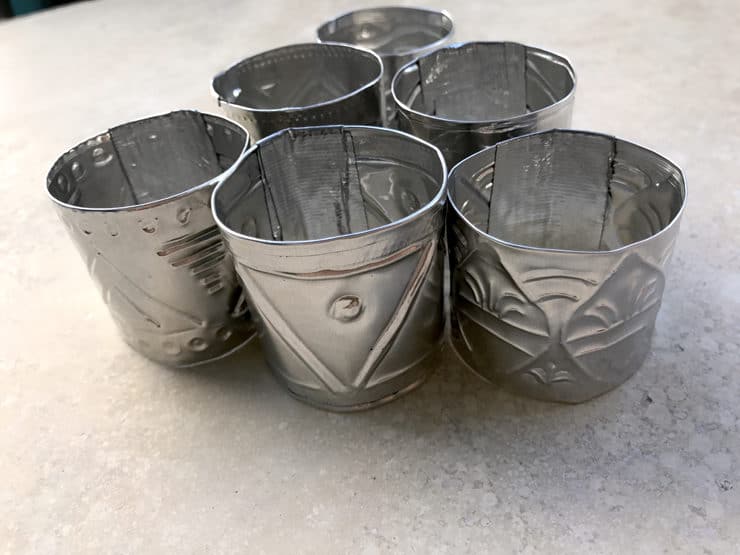
Typically, store-bought items come in packages and everything is the same or one single design. With our DIYs it’s an opportunity to mix it up; hence, we created these napkin rings with no two alike, kind of like snowflakes. It’s more fun incorporating different designs and making each item unique. For instance, if you know the name of your dinner guests, you could emboss their names into each ring. Then your napkin rings could also serve as place cards.
Warning, you might become addicted to aluminum embossing with this DIY! They are so much fun to make and you can get as creative and artistic as you like.
Quick disclaimer: If you decide to make this DIY, please use appropriate safety gear, including metal working gloves. Aluminum edges are sharp, so please take your time and be sure that you do not cut yourself. We also highly recommend watching YouTube videos for pointers. We found Introduction to Metal Embossing Tutorial by Elitia Hart to be the most informative. If you’re not deterred, here are the instructions and supplies you’ll need:
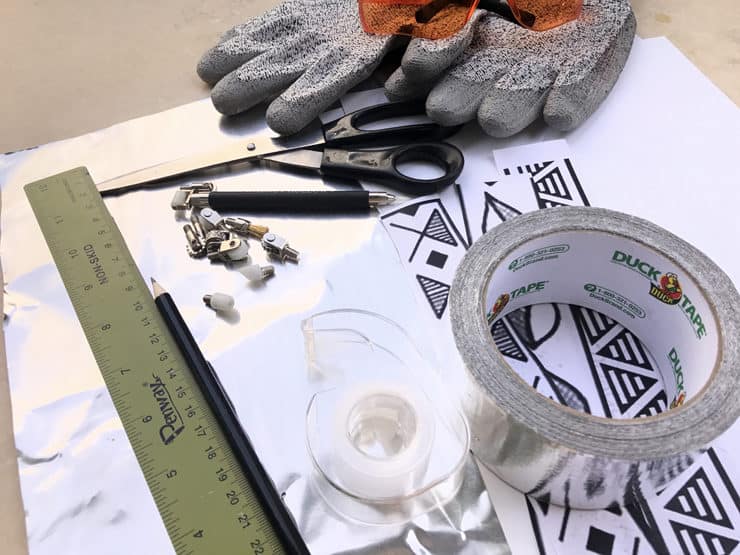
Supplies:
- Safety goggles
- Metal working gloves
- 36 gauge aluminum roll or recycled soda or beer can
- Ruler
- Pencil
- Scissors
- Tape
- Skinny can or cylindrical object to form the napkin ring around
- Silver duct tape
If you plan to draw your designs freehand, these additional supplies are optional:
- Computer
- Printer
- Photo editing software
- Paper for printing design template
- Embossing wheel tool
Before you begin, identify the frontside and backside of the aluminum. The front will have a more glossy, glazed finish. It’s important to identify the front vs. the back because you will be doing the main embossing on the backside.
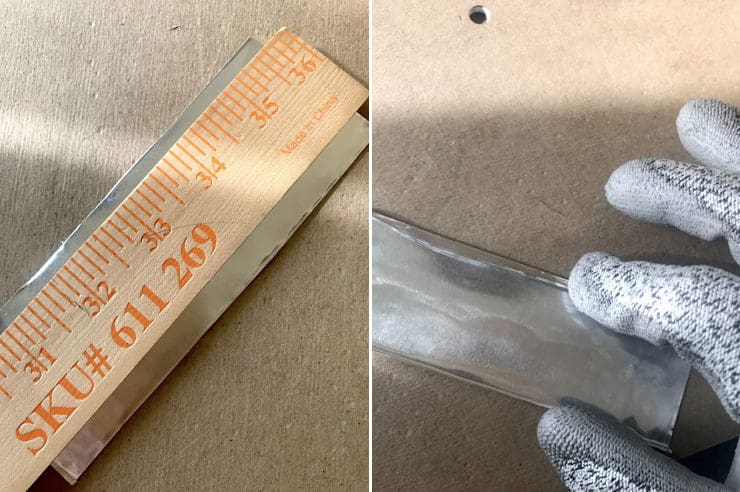
Use the ruler and pencil, measure and mark 6 x 2.5-inch wide strips. With the metal gloves on, use the scissors to cut the strips of aluminum. Crease the aluminum edges by placing ruler lengthwise, ¼-inch from the edge on both sides. Carefully fold the edges to create a safe edge.
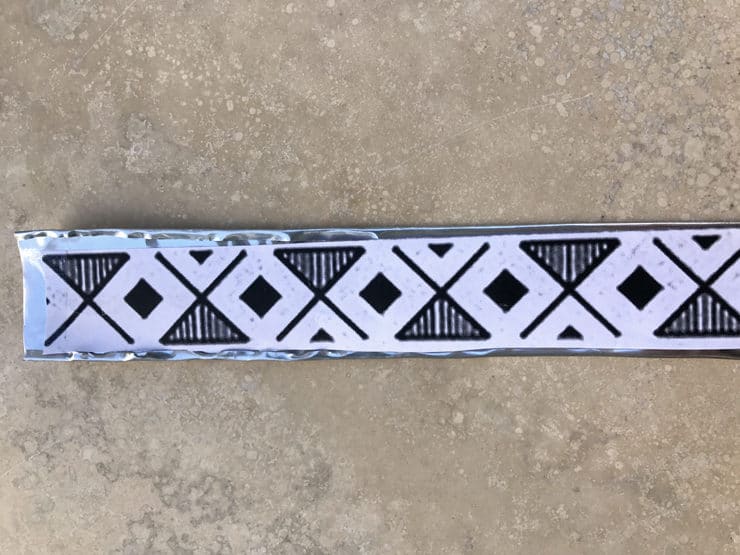
For each unique napkin ring, we simply searched the internet for “Mexican pattern” images. Next, we saved and modified the image file making each pattern 2-inches wide and printed. We cut each pattern strip, centered and taped it to the backside of our working piece of metal.
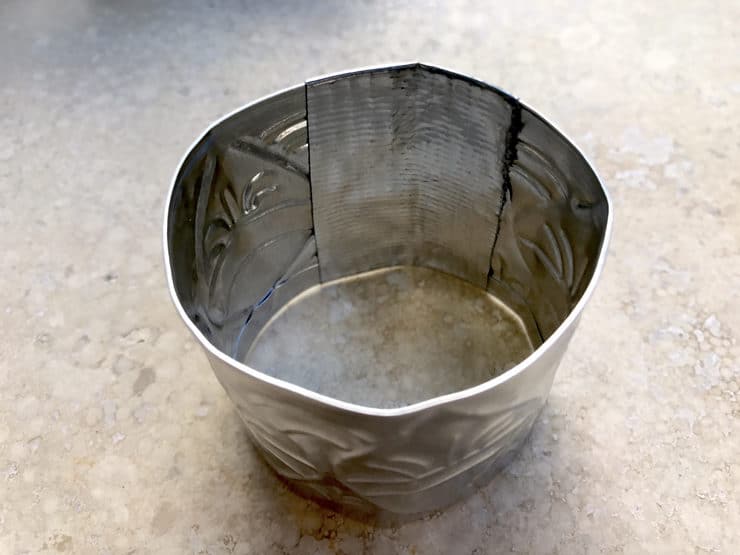
Emboss designs using a pencil or embossing wheel tool. Once your stenciling is complete, remove the stencil and retrace each object on the frontside for a nice 3D effect. Lastly, form the strip into a cylinder by wrapping it around a thin can or another cylindrical object. Cut a ½-inch strip of silver duct tape to secure the overlapped edges. There you have it, your first finished napkin ring!
As always, we love to see your creations so please share on Facebook and Instagram and tag Muy Bueno.
Photography: Jenna Sparks & Thrifty Rehab / Styling, Décor & DIY: Thrifty Rehab / Table Runner: Nativa Shop


One Comment on “Aluminum Embossed Napkin Rings”
They also look so unique and beautiful